Have you ever wondered what happens behind the scenes when you order custom printed packaging?
A finished pouch may look simple, but there is a detailed process behind every package. Before your product ever reaches the shelf, decisions need to be made about the pouch structure, size, material, and design. From there, the packaging moves through several stages of production before becoming the finished pouch you receive.
At Sinclair Packaging, we help take your packaging from an initial idea all the way to the finished product. Here’s a look at what that process involves.
1. Deciding on the Right Structure, Size & Material
Before designing your packaging, the first step is determining what the pouch needs to be.
The right packaging structure depends on your product, how it needs to be protected, how you want it to look, and how you plan to use it.
Some of the things to consider include:
- Pouch style: Stand-up pouch, lay-flat pouch, or roll stock
- Size: The dimensions needed to properly hold your product
- Gusset: The depth and structure needed for the pouch to stand or accommodate the product
- Material: Choosing the appropriate material and barrier for your product
- Finish: Options such as gloss, matte, or soft touch
- Features: Zippers, tear notches, hang holes, and other functional elements
Getting these details right at the beginning is important because the physical structure of the pouch will ultimately affect the artwork and how your finished packaging looks.
If you’re not sure which structure or material is right for your product, that’s where working with a packaging manufacturer can be especially helpful. Our team can help you determine the best options based on your product and packaging needs.
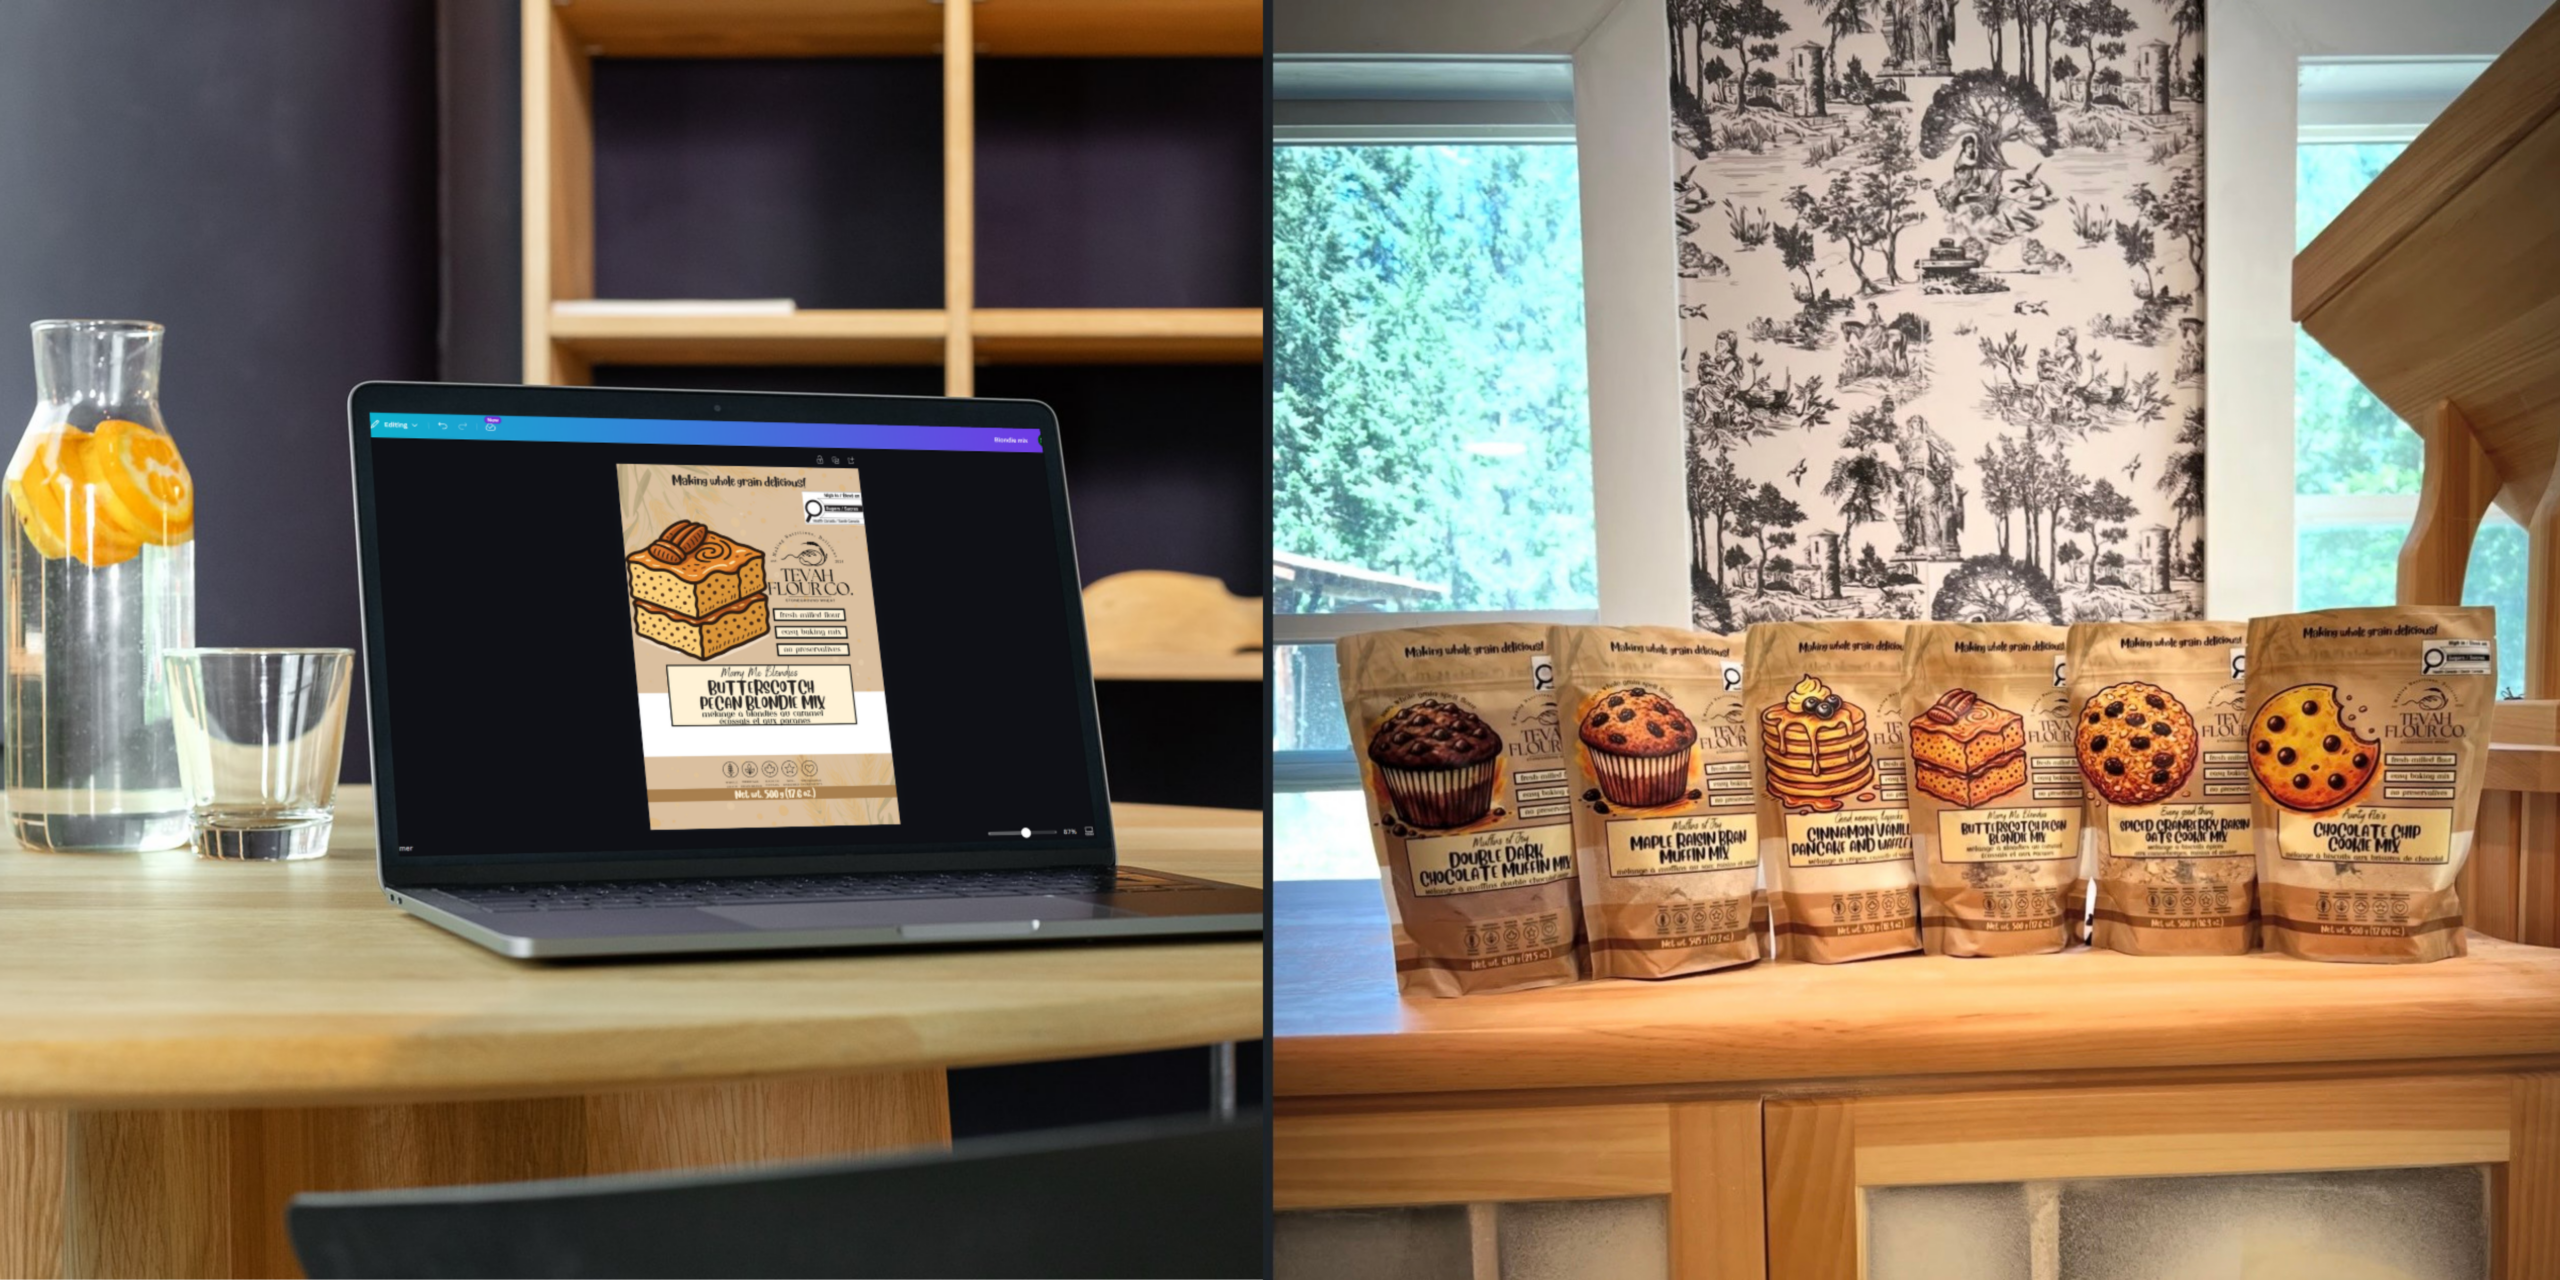
2. Creating Your Packaging Design
Once the structure and specifications have been determined, it’s time to bring your brand to life through design.
Your packaging is often one of the first things a customer notices, so your logo, colours, typography, imagery, product information, and overall layout all need to work together.
The design also needs to work within the physical dimensions of the pouch. Important information needs to be positioned correctly, while features such as zippers, gussets, tear notches, and hang holes need to be considered when creating the artwork.
Already have a finished design? Great! We can work with your existing artwork and prepare it for production.
Don’t have a design yet? We also offers design services for customers who need help creating their packaging artwork. Whether you’re starting from scratch or have an idea that needs to be developed, our team can help turn your concept into production-ready packaging.
3. Artwork Preparation & Proofing
Before anything goes to print, the artwork needs to be reviewed and prepared for production.
This is where technical details are checked to ensure the artwork fits the pouch correctly and is ready for the printing process.
Your proof gives you the opportunity to review the final artwork before production begins. This is an important step for catching potential errors and making sure everything looks the way you expect.
Once the artwork has been approved, production can begin.
4. Printing
Now it’s time to put your design onto the packaging material.
At Sinclair Packaging, we use digital printing to produce custom packaging with your approved artwork. This is where your colours, graphics, logos, and product information are printed onto the material that will eventually become your finished pouch.
But the printing stage is only the beginning of the manufacturing process.
Once the material has been printed, it continues through several additional stages before it becomes a pouch.
5. Solventless Lamination
After printing, the printed material moves to the solventless laminator.
Lamination is an important part of the packaging manufacturing process because it combines layers of material to create the final packaging structure.
The layers work together to provide the characteristics needed for the finished pouch, such as durability and barrier properties, while also helping protect the printed design.
The material now has its final layered structure, but it’s still not a pouch yet.
6. Slitting
After letting the lamination cure for 48h, the material moves to the slitter.
During this stage, the large roll of laminated material is cut down into the appropriate widths needed for the next stage of production.
Slitting is an important step because the material needs to be prepared to the correct dimensions before it can move onto the pouching line.
At this point, the packaging is getting much closer to becoming the finished product.
7. The Pouching Line: The Final Stage
The final stage of the process is the pouching line.
This is where the laminated and slit material is transformed into the actual pouch.
The material is formed and sealed into its final shape, while features such as zippers, gussets, tear notches, and other specifications are incorporated as required by the pouch design.
This is the stage where all of the previous steps finally come together.
The structure that was selected at the beginning, the artwork that was designed and approved, the printed material, the laminated layers, and the slit rolls all become the finished custom pouch.
8. Quality Checks & Finished Packaging
Throughout the manufacturing process, quality and consistency are important.
The finished pouches are checked to ensure they meet the required specifications and that the final product reflects the approved artwork and packaging requirements.
Once the pouching process is complete and the finished packaging has passed the necessary checks, your custom pouches are ready to be packaged and shipped to you.
And just like that, what started as an idea has become a finished piece of packaging ready for your product and, eventually, your customers.
From an Idea to a Finished Pouch
Custom packaging involves much more than simply printing a design onto a bag.
Every stage plays an important role, from selecting the right structure, size, and material, to creating the artwork, printing, laminating, slitting, and finally converting the material into the finished pouch.
At Sinclair Packaging, we help bring all of these pieces together under one roof. Whether you already have production-ready artwork or need help with the design, our team can help guide your project from the initial packaging concept through to the finished pouch.
Ready to Get Started?
If you’re looking for custom printed pouches for your next product, Sinclair Packaging is here to help.
From choosing the right packaging structure to creating your design and producing the finished pouch, our team can help bring your packaging from concept to shelf.
Contact us to get started on your custom packaging project.